In this tutorial, you will find out How To Install Shaders for Minecraft Windows 10 Edition. If you are playing Minecraft without shaders, i’m sure you haven’t tried this before. Once you try any shaderpack, you will never want to play without it. The cool thing on this is that it will make the game ultra realistic with waving water, leaves and more!
Each shader offers a different look and stuff like that. You can find a great section about shaders on my website. Before we continue, I’d let you know that each shader is in .mcpack which is a huge bonus for us, you can easily install it, let me show you how.
How To Install Shaders for Minecraft Windows 10 Edition
1. Go to my section about shaders and choose the shaderpack you would like to use. You will find the best articles on these. Find the download link and then hit “download”. Now go to the Downloads folder and take the shader from there and drop it on the desktop. I will use Evo Shader in this tutorial.
2. If the shader is not in .mcpack but is in .RAR or .ZIP format, you need to right-click on the file, now choose “Extract”.
3. You will now have the .mcpack on the desktop.
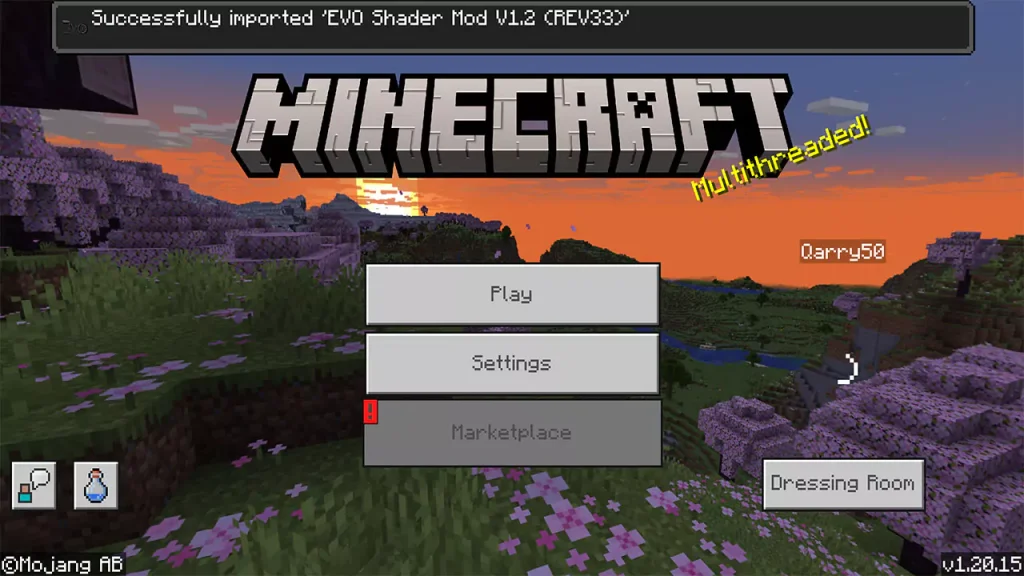
4. Double-click on the file and you should be now in the Minecraft and see the “importing” message.

5. Now you should see a message that says “Successful”.

6. Open settings and scroll down to Global Resources, you can find the Evo Shaders in there (or any other shader you installed) and make sure you hit active and that it is in the active tab.
Conclusion
That would be everything for this tutorial about How To Install Shaders for Minecraft Windows 10 Edition! I hope this have helped to install it without any issues. Enjoy your new pack in your singleplayer game and make sure you check out my YT channel!


